How to Decorate Holiday Cookies With Royal Icing
Decorated sugar cookies are a holiday tradition and make wonderful gifts. Royal icing gives crisp outlines and smooth, glossy surfaces that dry hard enough to stack and package. Getting started requires understanding icing consistency, drying times and simple techniques. With practice, you can create snowflakes, trees, ornaments and sweaters that look bakery-made.
Bake cookies that hold their shape
Use a cut-out cookie recipe designed to minimise spreading. Chill cut shapes before baking and bake on parchment or silicone mats for flat surfaces.
Let cookies cool completely before decorating. Warm cookies melt icing and create uneven surfaces.
Mix royal icing consistencies
Royal icing is made with powdered sugar, meringue powder or egg whites and water. Stiffer icing is used for piping details, while thinner flood icing fills areas smoothly.
Many decorators test consistency by drawing a line through the icing and counting how long it takes to disappear. Flood icing often smooths in about 10-15 seconds, but adjust to your preference.
Outline and flood
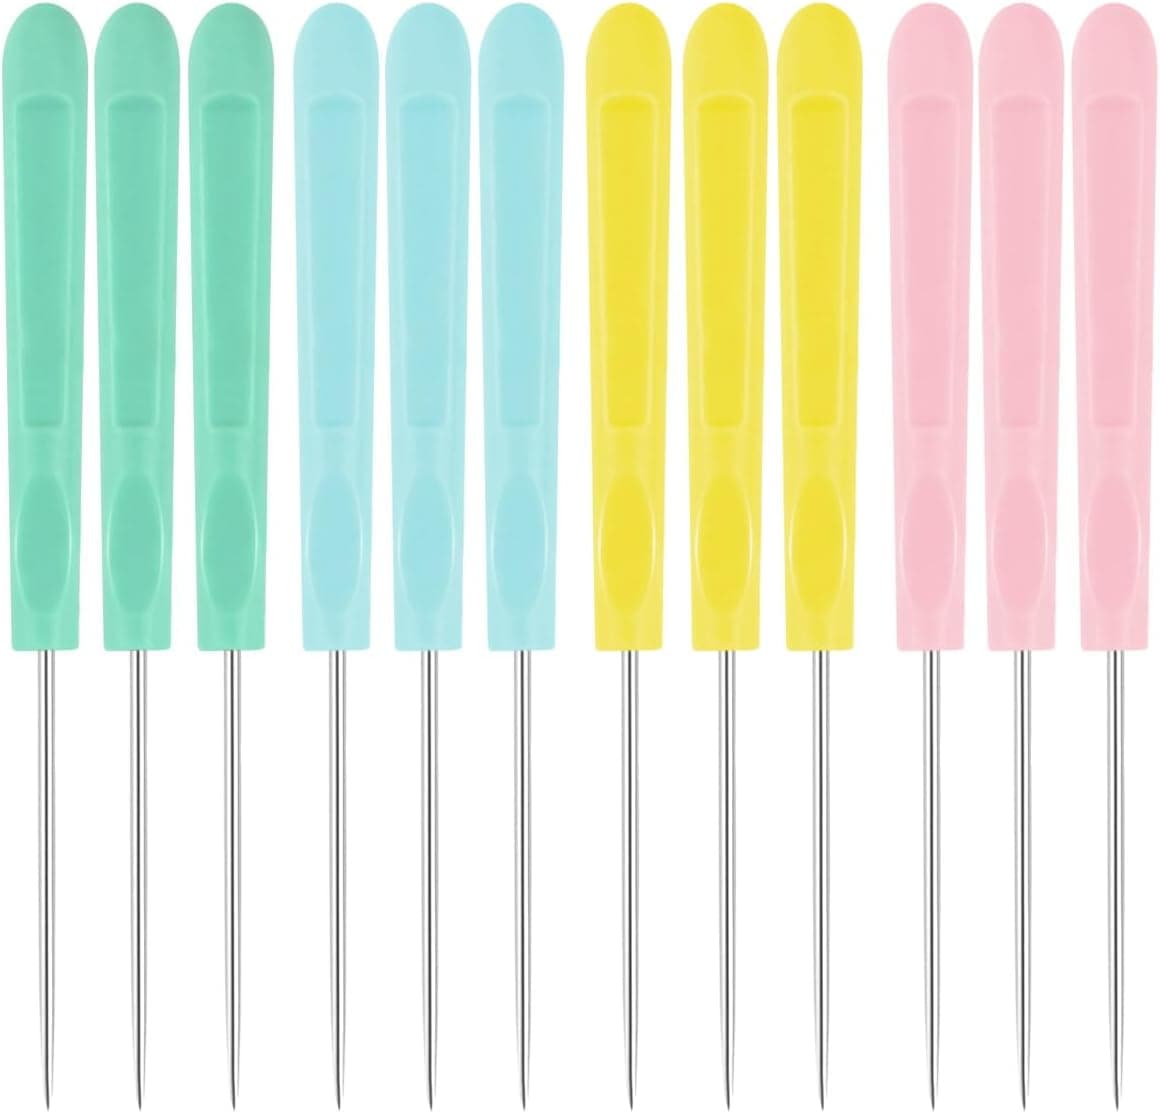
Pipe an outline around the cookie edge, then fill the centre with flood icing. Use a scribe tool or toothpick to guide icing into corners and pop air bubbles.
Some decorators use one consistency for both outlining and flooding. Practise on a few cookies to find what works for you.
Dry cookies properly
Let flooded cookies dry before adding details on top. A fan or dehumidifier helps icing dry faster and prevents dull spots.
Humidity slows drying and increases colour bleeding. Allow several hours or overnight before stacking or packaging.
Simple festive designs
Snowflakes piped in white icing on blue cookies look elegant and simple. Christmas trees with green flood icing and sprinkles are beginner friendly.
Ornaments with stripes and dots use wet-on-wet techniques, where dots are added to wet flood icing. Sprinkles and edible glitter add easy sparkle.
Package and store
Once fully dry, package cookies in heat-sealed bags or airtight containers. Layer with parchment if stacking.
Store in a cool, dry place away from sunlight, which fades colours. Include allergy information when gifting.
Avoid craters and colour bleeding
Small details such as dots, eyes and narrow sections of flood icing sometimes sink as they dry, leaving a crater in the middle. Using slightly thicker icing for small areas and drying cookies quickly under a fan helps the surface set before it collapses.
Colour bleeding happens when dark icing sits next to light icing that is still wet, especially in humid kitchens. Let each colour crust over for 20-30 minutes before piping a contrasting colour beside it, and avoid over-thinning dark colours with extra water.
Plan a decorating session
Decorating a large batch goes far more smoothly when it is split into stages. Bake and freeze undecorated cookies ahead, mix and colour icing the day before and store it covered, then spend one session flooding and a second session adding details once the base layer is dry.
Fill piping bags or squeeze bottles for every colour before starting, and keep a damp towel over bag tips so icing does not crust. A few spare cookies for practice let you test consistency and designs before decorating the ones you plan to give away.